How To Manage Your Interviewers
Jan 1st 2021
How To Manage Your Interviewers

Step 1:
Login to the Administrator or a Super User account.
The administrative account is the original user who created the account with interviewer assistant.
Additional users can be added later as licensed accounts using the Super User account. Only the Administrator or Super User account can make the changes described below.
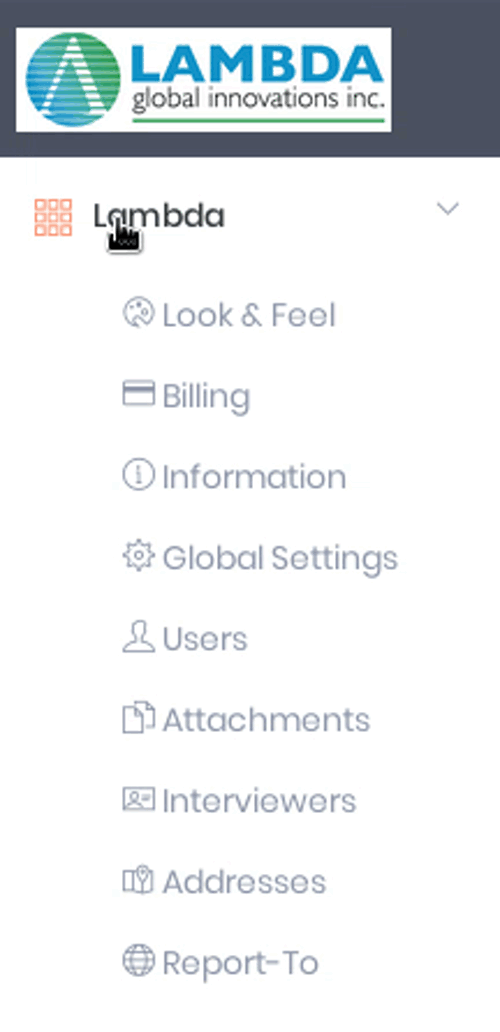
Step 2:
Click on your company's name to expand the company submenu:

Then click on Interviewers menu item:
Step 3:
From this page all options are laid out in an easy to use interface. The top section displays a list of active interviewers.
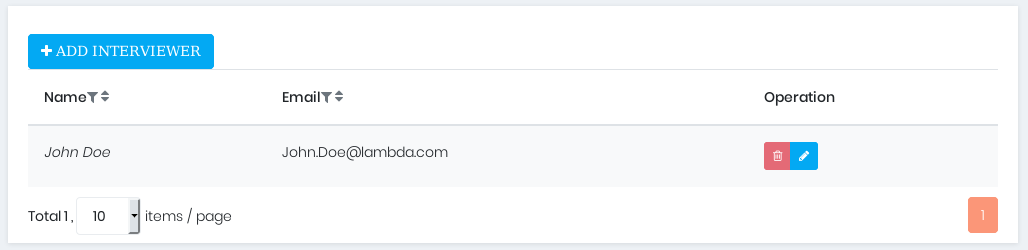
In this list you have the ability to do the following:
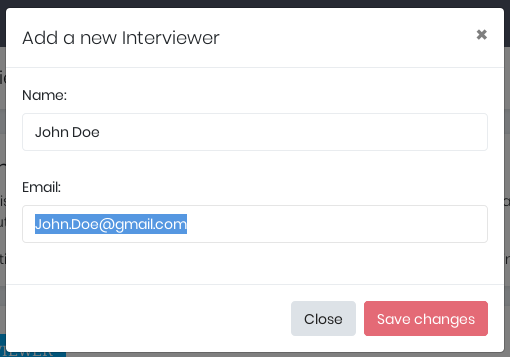
- To add an interviewer click on the add user button. Input their full name and email address:
- To edit an interviewer’s availability, click on the button with the pencil icon besides the name of the interviewer you wish to change. See step 5.
If there is someone you would like to delete or if you would like to assign one of the interviewer accounts to another user, click on the button with the trash can icon.
Step 4:
Interviewer availability can be managed using 2 methods: the Interviewer Assistant built-in calendar or Google Calendar.
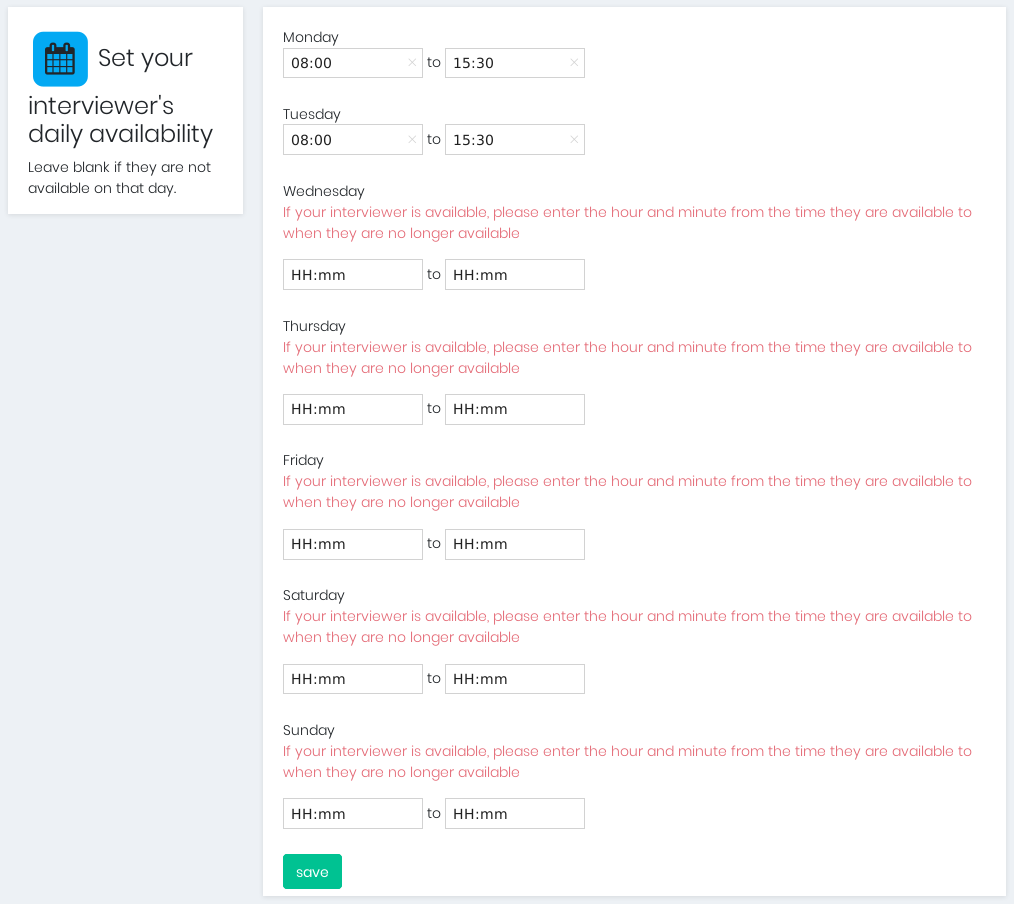
How To Use The Built In Calendar
Enter the Interviewer's availability in the Set your interviewer's daily availability section:
The next section, Set your interviewer's availability Exceptions allows the interviewer to set exceptions to their schedule:
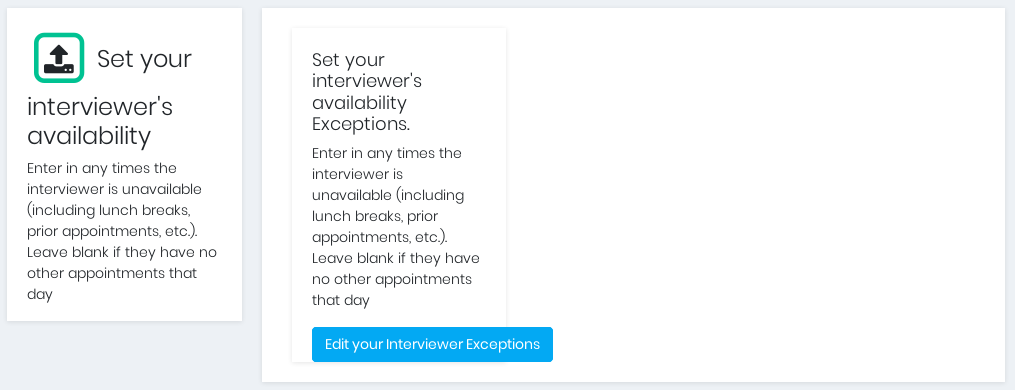
Clicking on the Edit your Interviewer Exceptions button will open a calendar:

Set up the interviewer's times and dates where the Interviewer is unavailable by clicking and dragging the mouse to select the time slots the Interviewer is not available.
Clicking the trash bin will remove the exception time slot. Time slots can also be expanded by clicking on the lower edge of the timeslot and dragging it down or up. They can also be moved around by clicking, dragging and dropping the time slot to another spot on the calendar.
How To Use Google Calendar
The interviewer needs to use a Gmail address for this functioanlity. If an Interviewer has been entered and does not have a Gmail address and wants to use Google's calendar, they will need to:
- either link their email address with Gmail, or
- change the Interviewer's email address.
- The existing Interviewer needs to be deleted; then the Interviewer needs to be registered using a Gmail address.
Look for the section titled Interviewer's external availability Caldendar located at the bottom of the page:
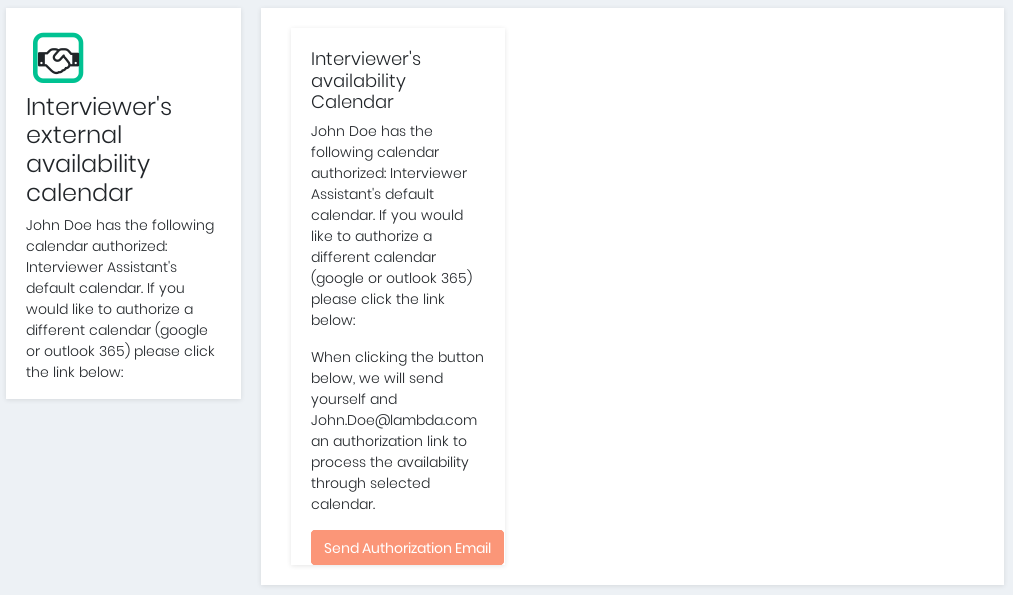
Click on the Send Authorization Email button. This will send an authentication email to the Gmail account that was entered when adding the Interviewer. The Interviewer will receive an email from Interviewer Assistant.
The Interviewer will need to follow Google's authorization process to allow Interviewer Assistant access to their Google Calendar. This authorization is done on Google's side and is required by their service.
Go to Step 6 to see the process of allowing access once the email is received.
Lastly we need to tell Interviewer Assistant what restrictions to place on when the Interviewer is available. In the example below we see that Interviewer Assistant will only allow interviews to be scheduled in the Google Calendar Monday to Friday from 9:00am to 5:00pm. Its important to note that Interview Assistant will schedule an interview for any time with in the values provided as long as the calendar is open for the requested time. This means that the interviewer should schedule time in the Google calendar for breaks and lunches to make sure interviews aren't scheduled during times that the recruiter is unavailable.
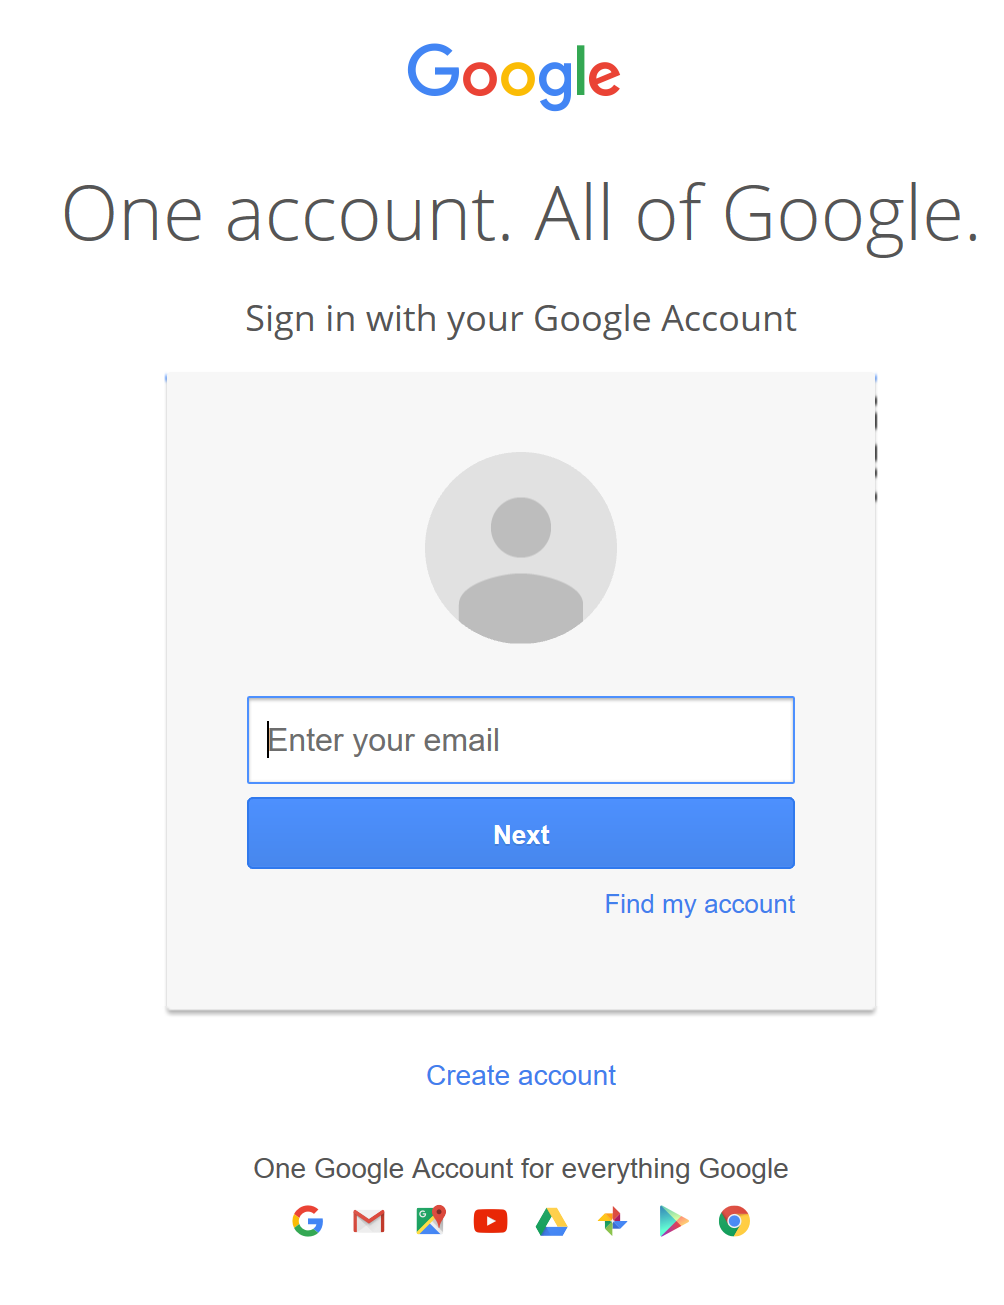
Open the email and click on the "Google Authorization" link to proceed.
Step 5:
A new web page will open; click on the link "Authorize with Google Calendar" to continue.
Step 6:
Enter the google email account that you would like to synchronize with Interviewer Assistant and click next, you will then be prompted for the google account password, type that in the space provided and press next.
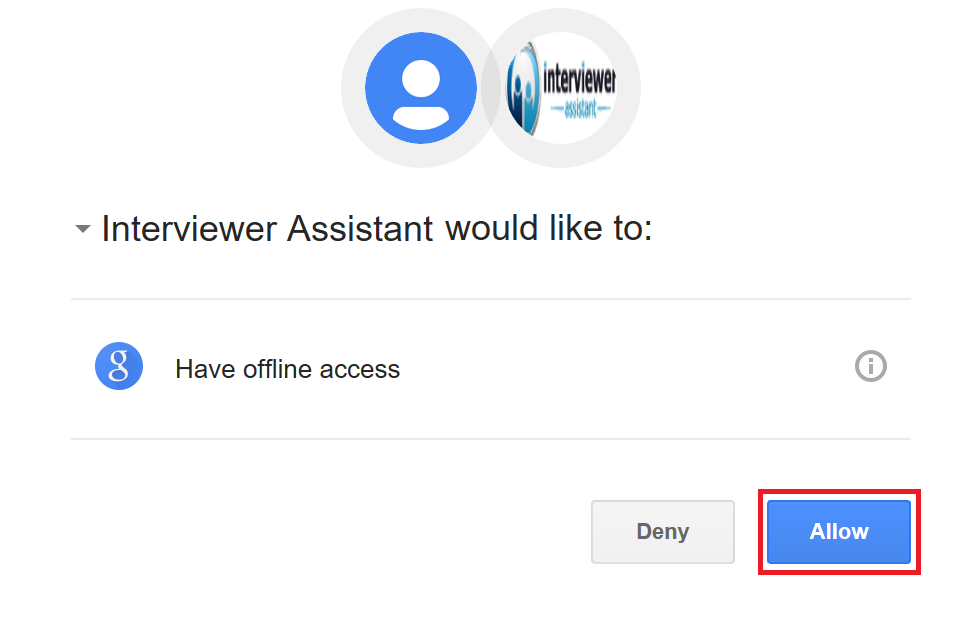
Step 7:
Click allow
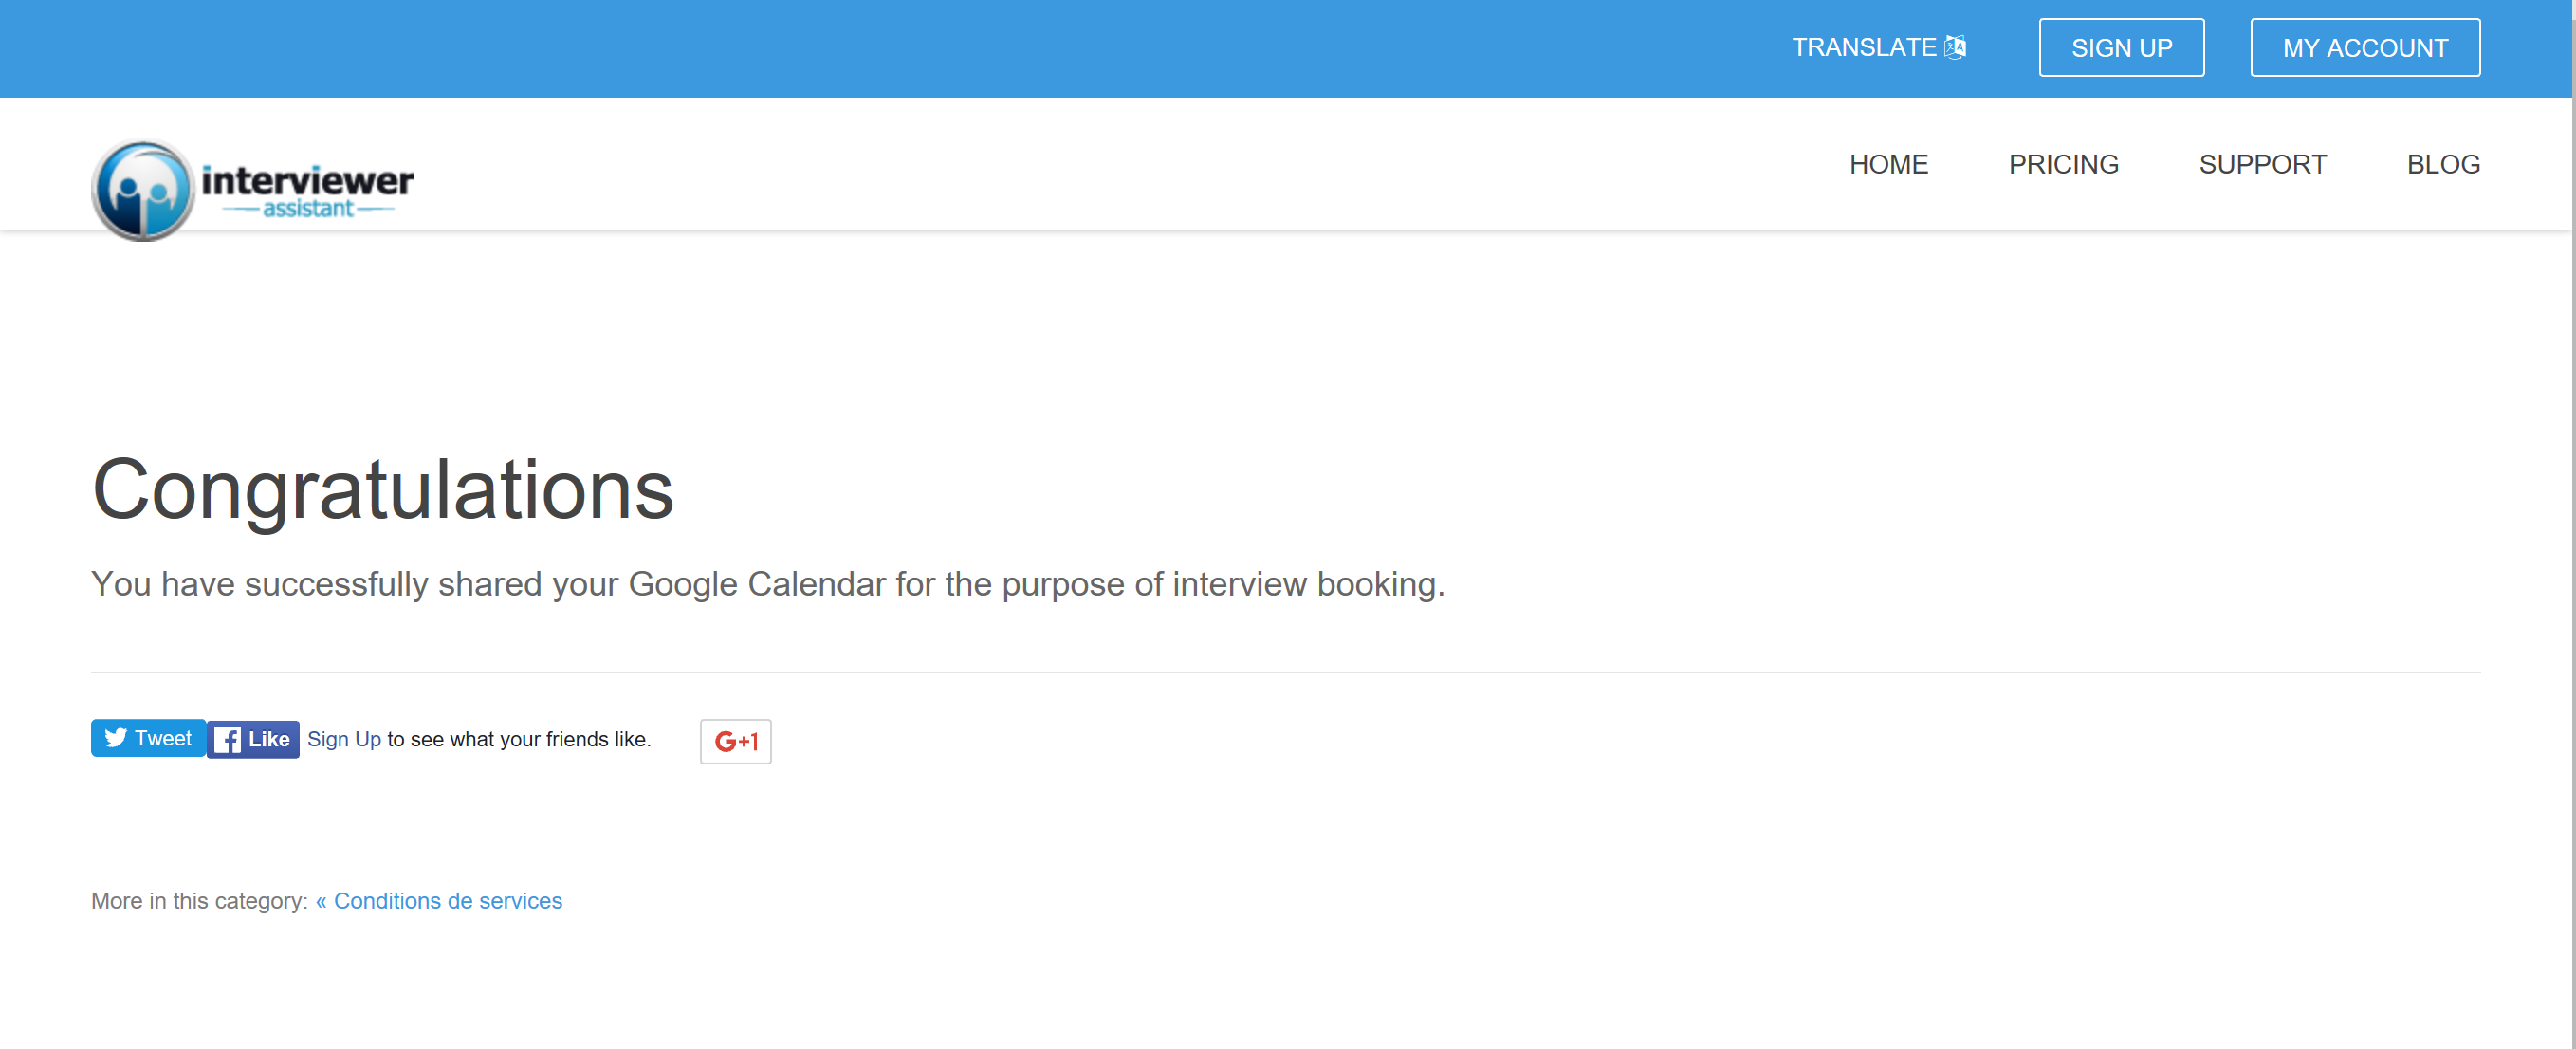
Step 8:
If the setup was successful you will see the "Congratulations" message
- Note: Each interviewer added to your account will require a license. If you wish to have more interviewers you must add licenses to your account.
- Note: All users assigned a license as well as the administrator have access to the interviewers, your changes will affect your entire account.
- Note: Most of the interviews are scheduled through the calendar option. This option is typically chosen if there are multiple interviewers that will be available to interview for the same position.